The Complete Guide to Yellowfin Tuna Popping in the Seychelles
Introduction: The Ultimate Offshore Challenge
The Seychelles archipelago, comprising 115 islands scattered across the western Indian Ocean, represents one of the world’s premier destinations for targeting yellowfin tuna with surface poppers. This fishery combines the visual excitement of topwater strikes with the raw power of apex pelagic predators, creating what many consider the pinnacle of saltwater sport fishing. This comprehensive guide synthesizes oceanographic science, biological insights, and field-tested tactics to help anglers master this demanding pursuit.
Understanding Your Quarry: Yellowfin Tuna Biology
Physical Characteristics and Size
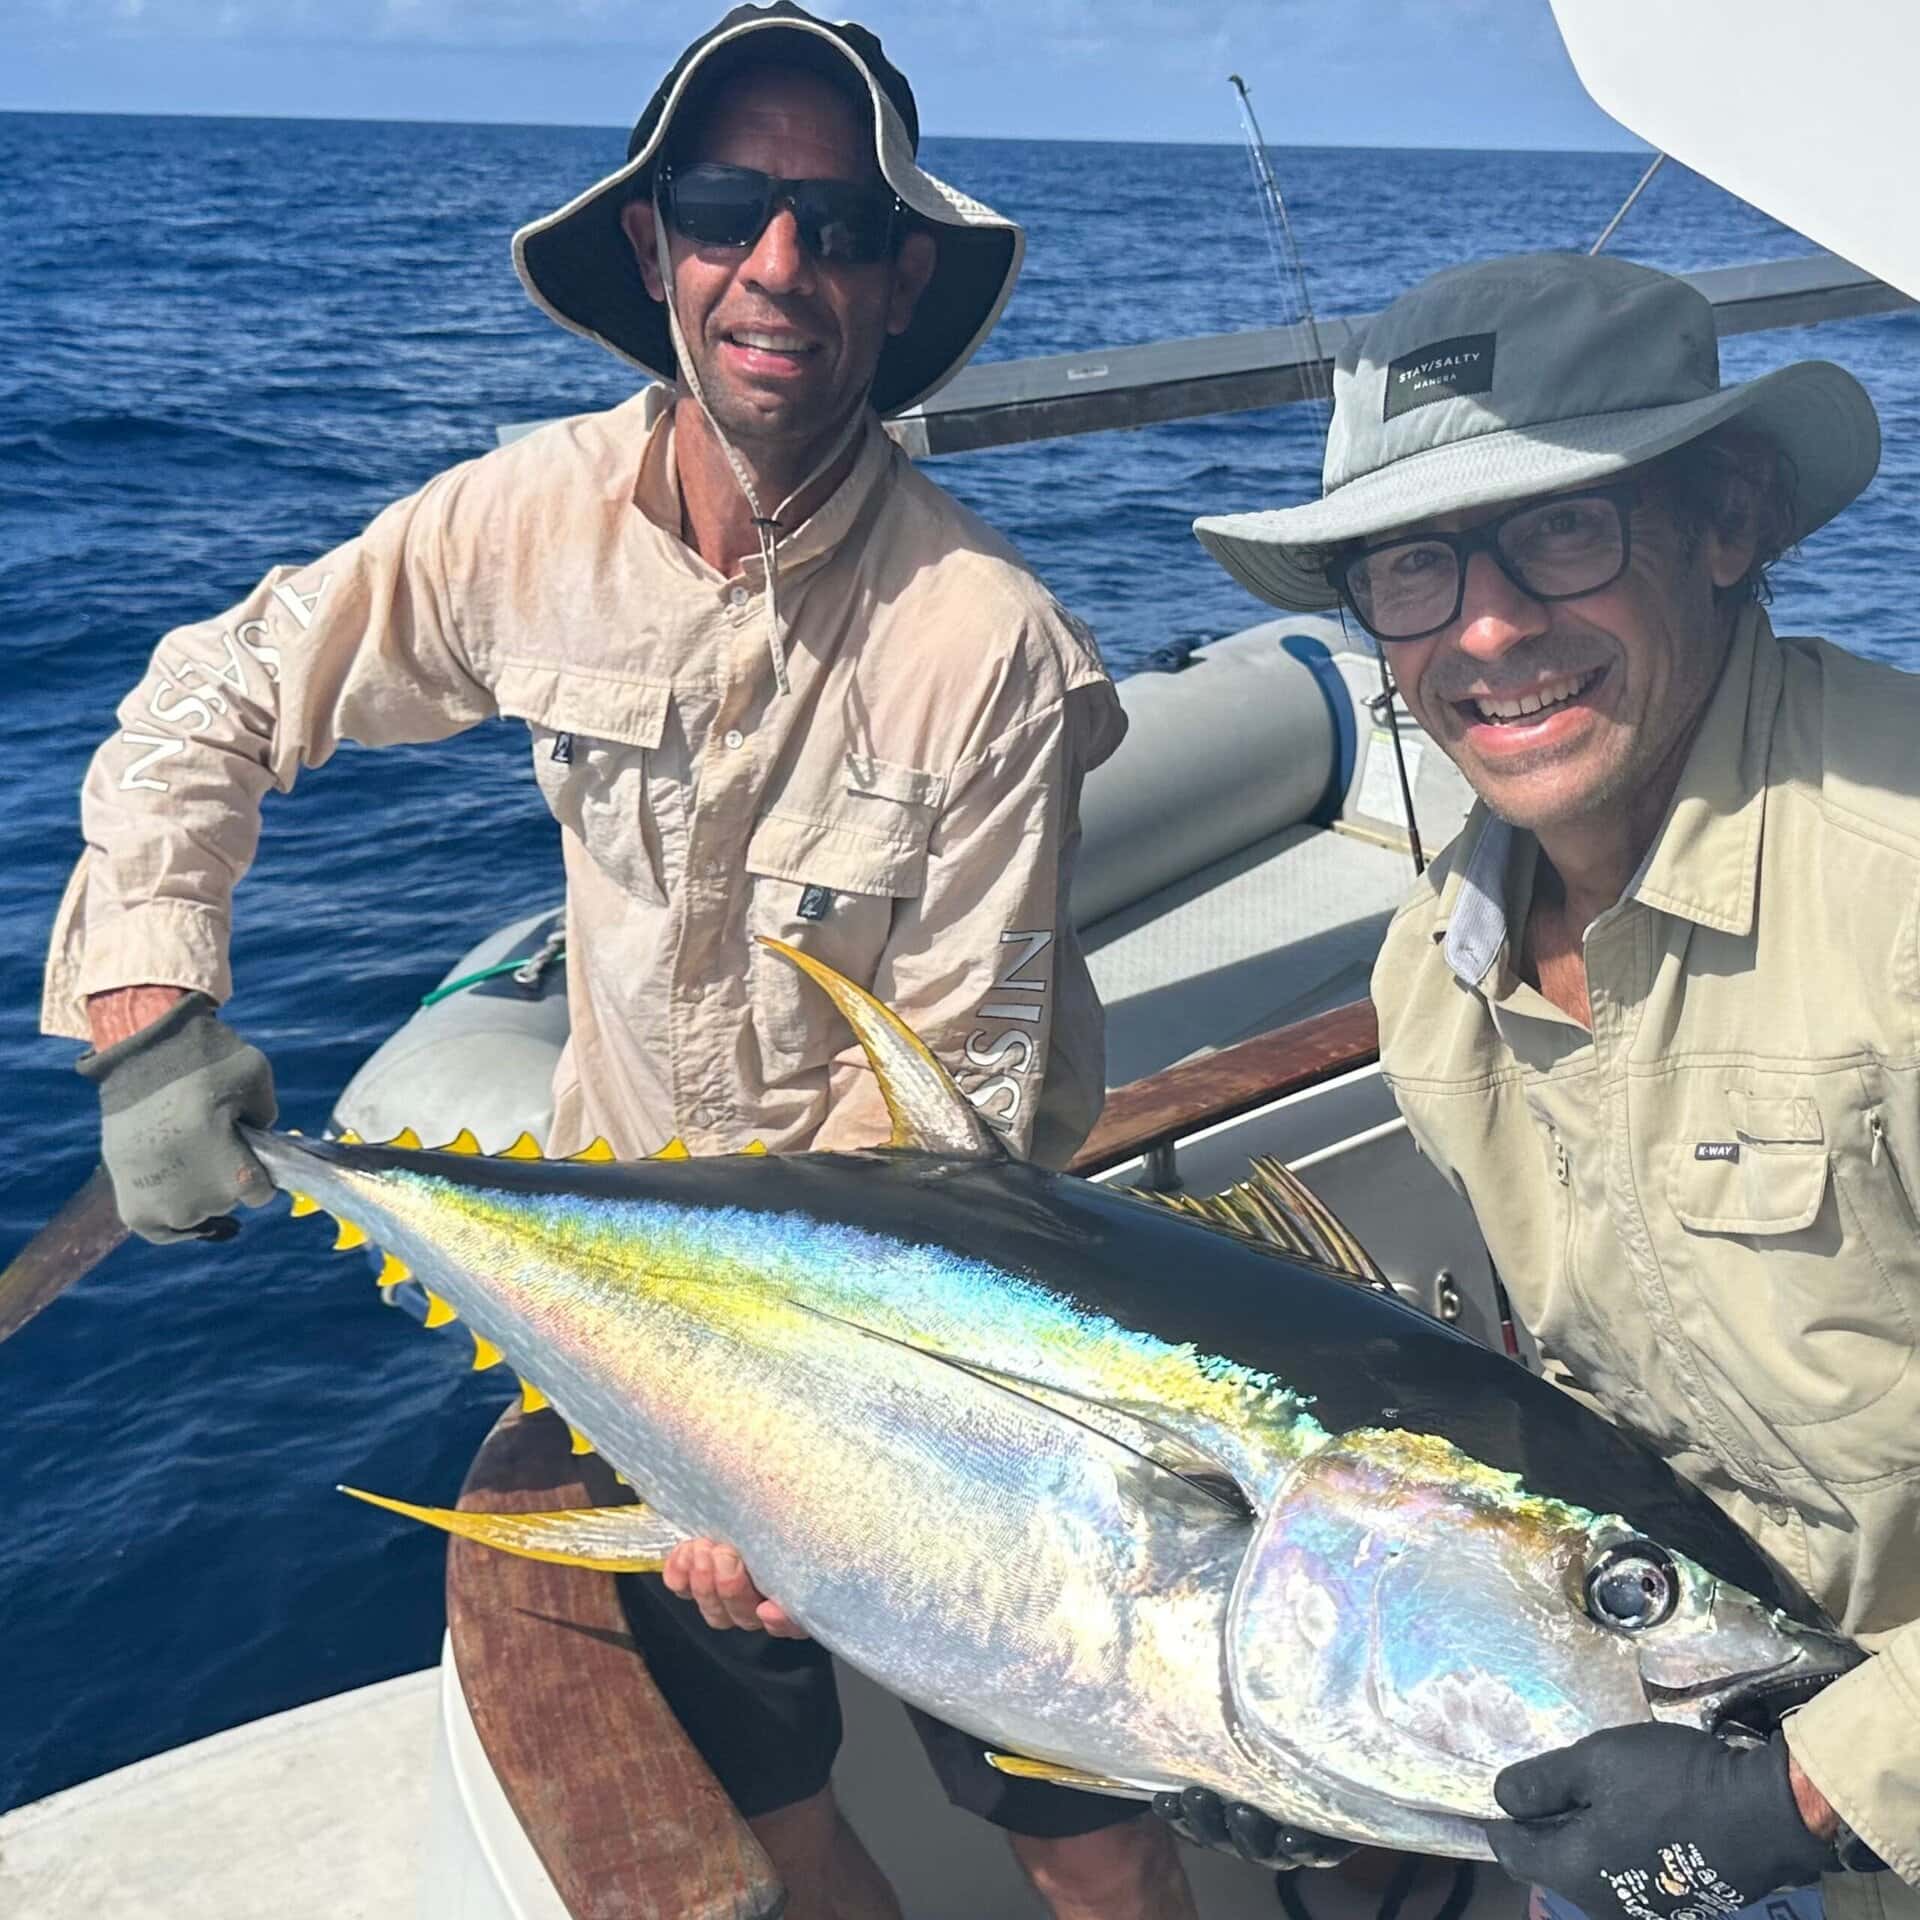
Yellowfin tuna (Thunnus albacares) are hydrodynamic marvels, featuring a fusiform, torpedo-shaped body engineered to minimize drag during high-speed pursuits. In Seychelles waters, mature specimens regularly exceed 200 centimeters in length and can reach weights approaching 200 kilograms. However, the core of the surface popping fishery targets fish in the 30 to 80-kilogram range, with trophy specimens over 100 kilograms representing the ultimate achievement.
The species is instantly recognizable by its metallic blue dorsal coloration, silver ventral surface marked with vertical barring, and the vibrant yellow second dorsal and anal fins that give the species its common name. These colors serve both as camouflage in the open ocean and as visual communication signals within schools.
The Warm-Blooded Advantage
What sets yellowfin apart from most fish is their ability to maintain internal body temperatures significantly higher than surrounding water through a specialized counter-current heat exchange system called the rete mirabile. This physiological adaptation enables enhanced muscular performance, faster neural processing for tracking prey, and more rapid digestion of consumed food.
This “warm-blooded” status comes at a steep metabolic cost. Yellowfin require continuous and substantial intake of high-protein prey to fuel their elevated metabolism, which drives them to concentrate in areas of high productivity where food sources are abundant. Understanding this metabolic demand is key to predicting where tuna will be feeding on any given day.
Feeding Behavior and Diet
Yellowfin tuna are non-selective generalist feeders occupying a broad niche in the oceanic food web. Analysis of stomach contents from Indian Ocean specimens reveals a diet heavily dominated by teleost fishes, which can account for 47-53% of total intake by mass. The most important prey categories include:
Teleost Fish (Primary Energy Source):
- Sardinella species (sardines)
- Decapterus species (scad/round scad)
- Priacanthus hamrur (bull’s eye)
- These provide the high protein and fat content necessary for the tuna’s metabolic demands
Cephalopods (Deep Water Specialists):
- Sthenoteuthis oualaniensis (purpleback flying squid)
- Critical for deep-water feeding and nocturnal activity
- Account for 19-20% of diet by importance
Crustaceans (Opportunistic Forage):
- Charybdis smithii (swimming crabs)
- Various shrimp species and megalopa larvae
- Comprise 27-35% of diet, particularly in mixed-layer environments
Pelagic Juveniles (Aggression Triggers):
- Skipjack tuna, bonito, and mackerel juveniles
- Consumed primarily by larger trophy-sized yellowfin
- Can trigger competitive feeding frenzies
Professional guides emphasize the importance of “matching the hatch” by observing which baitfish are present during a feeding event. The size, color, and movement pattern of your lure should ideally mimic the predominant prey species being targeted by the tuna at that moment.
Vertical Migration and the Deep Scattering Layer
While yellowfin spend over 90% of their time in the top 200 meters of the water column, they exhibit clear diurnal vertical migration patterns. During daylight hours, they often descend to deeper, cooler waters, following the Deep Scattering Layer (DSL) composed of squid, micronekton, and other midwater organisms. As evening approaches, they follow this biomass upward toward the surface.
This behavior makes dawn and dusk—the “golden hours”—the most productive windows for surface popping. During these transitional periods, baitfish are moving between safety zones, water temperatures are optimal, and light levels trigger aggressive feeding responses from predatory fish.
Oceanographic Context: Reading the Seychelles Waters
The Monsoon Regimes
The Seychelles’ location outside the primary cyclone belt but within the influence of monsoon trade winds creates two distinct fishing seasons that fundamentally reshape tactics and opportunities.
Northwest Monsoon (October to March):
This period delivers warmer water temperatures ranging from 27-31°C, higher humidity, and predominantly calm seas. The lack of wind makes this the premier season for offshore expeditions to remote outer atolls like the Alphonse Group and the Amirantes. Calm water facilitates long-range detection of bird activity and surface “bust-ups,” allowing captains to spot feeding activity from several kilometers away. The flat conditions also make boat handling easier and reduce angler fatigue during long runs to distant fishing grounds.
Southeast Trade Winds (May to September):
During this season, consistent winds blow from the southeast, bringing cooler air and rougher sea conditions. Water temperatures drop to the 24-28°C range, and surface chop can make boat travel uncomfortable. However, these conditions often produce the most intense surface feeding activity. The increased water agitation and lower temperatures can trigger aggressive responses, and the rougher water provides cover for the tuna, making them less skittish and more willing to strike large, noisy poppers that can break through surface noise.
Thermal Boundaries and Temperature Breaks
Water temperature is a primary driver of yellowfin distribution. While the species can tolerate temperatures from 18-30°C, the optimal window for active surface feeding falls between 22-24°C. In the Seychelles, the dramatic bathymetric feature known as “The Drop-Off”—where the Mahé Plateau plunges from 60 meters to over 2,000 meters—acts as a massive upwelling engine.
These upwellings bring cooler, nutrient-laden water to the surface, creating visible “temperature breaks” or “rips” where different water masses meet. Tuna typically congregate on the warm side of these breaks, where visibility is higher for visual hunting, while baitfish concentrate on the cooler side due to increased nutrient availability. The interface zone where these water masses collide becomes a killing field for predators.
Larger climatological patterns also play significant roles. The Indian Ocean Dipole (IOD) and El Niño-Southern Oscillation (ENSO) significantly impact catch rates across seasons. A positive phase of the IOD generally correlates with increased tuna catches in the northern Seychelles-Chagos Thermocline Ridge, as it influences the depth of the 20°C isotherm and intensifies subsurface upwelling events.
Tidal Dynamics and the Funnel Effect
Tidal movements in the Seychelles are semi-diurnal (two high and two low tides per day) and play a crucial role in concentrating biomass where predators can exploit it.
Flood Tides: Rising water brings clean, high-salinity ocean water onto the flats and plateaus, often accompanied by schools of baitfish and the predators following them. This is an excellent time to position near the edges of atolls and shallow banks.
Ebb Tides: As water drains from vast shallow areas, it creates a “funnel effect” through deep-water channels and passes. Predators, including yellowfin and giant trevally, position themselves at these bottlenecks to ambush concentrated prey being flushed off the flats. Channel mouths and creek passes become prime ambush points.
Spring vs. Neap Tides: Spring tides occurring around new and full moons produce the most dramatic water movements and often coincide with peak biological activity, though they can also create murkier water and challenging casting conditions. Neap tides offer more stable, clearer water, which is often preferred for “sight-casting” to visible tuna schools near the surface.
Terminal Tackle: Engineering Your Arsenal
Rods: The Perfect Balance
Popping for yellowfin tuna in the 50-100+ kilogram class demands rods that can withstand tremendous forces while remaining responsive enough for precise lure manipulation. A rod that’s too stiff will exhaust the angler during extended battles, while one that’s too soft won’t provide the lifting power needed to bring a sounding tuna back to the surface.
Critical Rod Specifications:
Length: 7’6″ to 8’3″ represents the optimal range. This length balances casting distance with mechanical leverage during the fight. Longer rods provide better casting distance and leverage but become unwieldy in rough seas.
Rating: PE8 to PE10 is standard. This indicates the rod is designed to handle 80-100 pound braid. High-modulus carbon and graphite composites provide the necessary strength-to-weight ratio.
Action: Fast to extra-fast tip action allows anglers to “work” the popper effectively with sharp snaps while maintaining backbone for hooksets. The tip must be responsive enough to impart violent action to the lure while the mid and lower sections provide stopping power.
Butt Section: A reinforced, extended butt section is essential for use with a fighting belt or harness. This distributes the immense load across the angler’s body rather than concentrating it in the arms and shoulders. The gimbal fitting must be robust and properly sized for your belt.
Premium Options: High-end rods like the Zack’s Custom (ZCR) 8-foot models or the Shimano Grappler Type J series are frequently cited as gold standards. These rods feature Japanese craftsmanship, precision-tapered blanks, and component quality that justifies their premium pricing when you’re facing down a 100kg fish.
Reels: Thermal Management Systems
For yellowfin tuna, the reel functions as much more than a line storage device—it’s a heat management system. Long, sustained runs generate immense friction in the drag washers, and any fade in drag pressure during the fight can result in lost fish.
Essential Reel Features:
Size Class: For PE8-PE10 applications, you need reels in the 18,000-20,000 size class (Shimano) or 6500-8000 size class (Daiwa). These provide adequate line capacity for initial runs that can exceed 200 meters.
Drag System: Heat-dissipating “Heatsink” drags with oversized washers are mandatory. Reels like the Shimano Stella SW series or Daiwa Saltiga feature aluminum heat sink components that pull heat away from the drag washers, maintaining consistent pressure throughout the fight. Maximum drag pressure should exceed 15 kilograms at strike setting.
Construction: Rigid aluminum bodies prevent gear misalignment under load. Any flex in the body can cause the gears to bind or skip under pressure. Sealed bearings protect internal components from saltwater intrusion.
Gear Ratio: A ratio of 5.7:1 or higher is critical. Yellowfin are notorious for charging toward the boat mid-fight. A slow reel leaves slack in the line, allowing the fish to shake the lure free or wrap the line around its body. High gear ratios enable rapid line recovery when the fish changes direction.
Line Capacity: Minimum 500 meters of PE8 or 400 meters of PE10 is required. Trophy fish can take 300+ meters on the initial run, and you need reserve capacity for subsequent runs and to manage line twist.
Line Systems: The PE Revolution
The fishing industry has largely adopted the Japanese PE (Polyethylene) rating system for braids due to its precision and consistency. Understanding the complete line system is crucial for success.
Mainline Selection:
In Seychelles waters, PE8 (approximately 80-pound test) represents the minimum acceptable specification, with PE10 (100-120 pound test) preferred when targeting larger specimens or fishing around structure where fish must be stopped quickly.
Premium Braid Characteristics:
- 8-strand or 9-strand construction for smoothness and roundness
- Tight weave to reduce water absorption and increase casting distance
- Low stretch for immediate hooksets and better lure control
- Color coding every 10 meters to track line out during the fight
Top Choices: Varivas Avani Casting PE SMP, YGK X-Braid, Sunline Cast Away, and Daiwa J-Braid Grand represent the pinnacle of braided line technology. While expensive, these lines justify their cost through superior abrasion resistance and knot strength.
Leader Systems:
A shock leader of 150-250 pound monofilament or fluorocarbon is essential. The leader serves multiple functions: it acts as a buffer against the initial strike’s shock load, provides abrasion resistance against the tuna’s rough skin and sharp fins, and offers some stretch to cushion violent headshakes.
Leader Length: 6-8 meters is standard. This ensures the leader extends beyond the rod tip during casting, protecting the relatively fragile braid from contact with guides and structure. It also provides handling length when the fish is boatside.
Material Choice: Monofilament offers more stretch and is more forgiving, making it ideal for less experienced anglers. Fluorocarbon is stiffer and less visible underwater, preferred when targeting pressured or skittish fish in clear water conditions.
Knots: The Critical Connection
The knot connecting braid to leader represents the weakest link in your system. Two knots have emerged as industry standards for their combination of strength, slimness, and reliability.
The FG Knot:
The FG (Fine Grip) knot is a braided connection that wraps the braided mainline around the leader in a series of half-hitches, creating a connection that approaches 100% of line strength when tied correctly.
Advantages:
- Extremely slim profile passes easily through rod guides
- Can be tied with wet hands on a rocking boat
- High breaking strength when tension is properly maintained during tying
Critical Technique Points:
- The braid must maintain constant tension while wrapping around the leader
- Minimum 20 wraps for PE8, 25 wraps for PE10
- Finish knot must be secured with multiple half-hitches and a locking knot
- Trim tag ends closely but leave 2-3mm to prevent slippage
The PR Knot (Priority Knot):
The PR knot is tied using a specialized bobbin tool that maintains perfect tension while wrapping the braid around the leader. It’s considered the strongest braid-to-leader connection available.
Advantages:
- Ultimate in knot strength (often tests above line rating)
- Incredibly slim and smooth through guides
- Less prone to picking up weed or debris
Disadvantages:
- Requires a bobbin tool (Shout PR Bobbin or similar)
- More time-consuming to tie
- Difficult to tie on the water
Other Essential Knots:
Improved Clinch or Palomar for Lure Attachment: When attaching leader to lure, the improved clinch knot or Palomar knot provides adequate strength for most applications. With heavy 150-250 pound leader, ensure the knot is properly seated and lubricated before tightening.
Bimini Twist or Spider Hitch for Doubling Line: Some anglers create a doubled section of braid before connecting to the leader for added insurance. The Bimini Twist creates a 100% strength loop but is time-consuming to tie. The Spider Hitch is faster but slightly weaker.
Terminal Connections and Hardware
Split Rings: Use only heavy-duty forged split rings (size 8-10) when attaching lures. Cheap split rings are a common failure point. BKK, Owner, and Decoy manufacture rings specifically rated for GT and tuna applications.
Swivels: Generally avoided in popping applications as they can interfere with lure action and create weak points. If using swivels for specific applications, choose only ball-bearing swivels rated to 200+ pounds.
Lure Arsenal: Surface Disturbance and Acoustic Signatures
Understanding the physics and biology behind lure effectiveness is crucial for making the right choice based on conditions and tuna behavior.
Cup-Faced Poppers (Chuggers)
These lures feature a large concave face designed to displace maximum water volume with each pull, creating both visual and acoustic signals that attract tuna from considerable distances.
Physics of the Pop:
When pulled sharply, the cupped face catches water and pushes it forward and upward, creating a loud “chug” or “pop” sound. This noise mimics the cavitation sound produced when a large predator strikes bait or when panicked baitfish thrash at the surface. The disrupted water also creates a bubble trail that remains visible for several seconds, providing a target for approaching tuna.
Optimal Conditions: Poppers excel in choppy seas where their loud acoustic signature can cut through surface noise. They’re also highly effective when calling fish up from depth, as the sound carries further in the water column than visual signals.
Premier Popper Models:
Nomad Chug Norris 180: Features an extreme cup face that creates massive displacement. Available in 180-200mm sizes weighing 100-120 grams. The internal weight transfer system enables casts exceeding 70 meters with proper technique. Ideal for targeting 50kg+ fish in rough conditions.
Madd Mantis Cherry: Known for extremely loud splash and distinctive chug sound. The design incorporates through-wire construction for maximum strength. Multiple color patterns available, with pearl/chartreuse combinations proving effective in varied light conditions.
Halco Roosta 195: Legendary for its tumble-proof design in rough water. The unique body shape prevents the lure from rolling or skipping even when retrieved aggressively in choppy seas. Widely considered the most versatile popper in the Seychelles.
Stickbaits: Subtle Seduction
Stickbaits represent a more finesse-oriented approach, featuring pencil-shaped bodies with minimal surface disruption but exceptional swimming action.
Physics of the Walk:
When worked with a rhythmic rod manipulation (often called “walking the dog”), stickbaits dart side to side in an S-pattern, diving just below the surface and creating a V-wake. This action mimics fleeing baitfish or injured prey, triggering pursuit instincts in visual predators like tuna.
Optimal Conditions: Stickbaits shine in calm seas when tuna are feeding on smaller, faster prey like flying fish or sauries. They’re particularly effective on pressured fish that have seen too many poppers, or when fish are visibly feeding but won’t commit to larger, louder lures.
Premier Stickbait Models:
Shimano Orca: Available in 140-220mm sizes. Features a weighted tail for long casts and stable swimming action. The slender profile accurately mimics needlefish and ballyhoo. Effective on schoolie fish to 60kg specimens.
Maria Rapido: Japanese-made precision with exceptional balance. The internal weight system creates a distinctive wobble on the retrieve. Multiple sink rates available for targeting different depths in the water column.
Tactical Lure Selection Matrix:
Calm Seas / Clear Water / Skittish Fish: Stickbaits in natural colors (silver, white, chartreuse/white)
Rough Seas / Overcast Conditions / Aggressive Fish: Large poppers in bright colors (pink, chartreuse, orange)
Dawn/Dusk / Baitfish Present: Match lure size and color to predominant bait; both poppers and sticks can work
Deep Water / Calling Fish Up: Heavy poppers (120+ grams) with loud acoustic signature
Sight Fishing / Visible Schools: Stickbaits or small poppers cast beyond school and worked through feeding zone
Color Theory and Selection
While tuna are primarily visual predators, color selection matters more in certain conditions than others.
High Clarity Water: Natural patterns with silver, white, and blue predominating. These mimic the reflective qualities of actual baitfish.
Stained or Green Water: High-contrast patterns with chartreuse, pink, and orange. These colors remain visible in lower clarity conditions.
Low Light Conditions: Dark patterns (black, purple, dark blue) create silhouettes against the sky that are easily visible from below.
Bright Sun / Calm Seas: More subtle colors and patterns to avoid spooking fish that can clearly see the lure.
Tactical Field Operations: The Hunt
Success in the vast Indian Ocean depends more on finding fish than catching them once located. Professional operations employ systematic search patterns and biological indicator interpretation.
Reading the Signs
Bird Activity:
Diving terns and frigatebirds provide the most reliable surface indicators. The behavior pattern reveals what’s happening below:
- Terns hovering low and dipping: Small baitfish being pushed up by predators below
- Large numbers of birds diving aggressively: Major feeding event or “bust-up” in progress
- Birds circling high: Bait present but not yet being actively attacked
- Frigates stealing from terns: Active feeding with fish driving bait to surface
Professional captains maintain constant horizon scanning, using binoculars to detect bird activity from 3-5 kilometers away.
Cetacean Associations:
Yellowfin frequently travel in association with pods of spinner or common dolphins. The relationship is commensal—the tuna utilize the dolphins’ sonar to locate bait schools and attack from the perimeter of the dolphin pod. When you locate actively feeding dolphins, tuna are likely within casting range beneath or around the pod.
Surface Signs:
- “Foamers”: Patches where water turns white from frenzied tuna attacking bait—the ultimate target
- “Blitzes”: Visible tuna boiling at the surface
- “Finning”: Dorsal and tail fins cutting the surface as tuna swim just below
- “Bait Balls”: Tight spheres of baitfish visible at the surface with predators circling
The Approach: Stealth and Precision
Charging directly into feeding activity will almost certainly spook the school, causing fish to sound (dive). The approach must be calculated and precise.
The Vector:
Approach from upwind or across the wind, maintaining a distance of 40-60 meters from the feeding activity. This positions you to drift naturally toward the fish while maintaining casting distance. The wind will carry the boat toward the school without engine noise.
Engine Management:
Once within casting range, engines should be placed in neutral or cut entirely. The reduction in acoustic signature is critical—tuna are highly sensitive to engine vibration transmitted through the water. Some operations use electric trolling motors for final positioning.
The Cast:
Aim for the leading edge of the school—the direction the fish are moving. Landing the lure directly in the center of white water can work, but casting to the edges often targets larger, more dominant fish patrolling the perimeter. These edge fish are actively looking for escaping baitfish fleeing the main melee.
Cast Distance:
In the Seychelles, casting ability directly correlates with success. Anglers capable of 60-70 meter casts can reach fish that boats cannot approach closely. Practice is essential.
The Retrieve: Triggering the Strike
The retrieve technique for yellowfin differs fundamentally from techniques used for other species.
The Pop-and-Pause Method
This represents the most consistently effective technique across all conditions:
- Make three to four hard pops by sharply pulling the rod tip downward while reeling up slack
- Pause for 3-5 seconds, allowing the lure to sit motionless
- Most strikes occur during the pause as tuna perceive the stationary lure as wounded prey
- Repeat the sequence, varying pause duration if fish are following but not committing
Advanced Retrieve Variations
The Aggression Pop: When tuna are visibly aggressive and competing for food, eliminate the pause and maintain continuous loud pops with rapid rod strokes. This mimics escaping prey and triggers competitive strikes.
The Slow Walk: For stickbaits, use a rhythmic side-to-side rod motion to create the darting action. Vary the cadence—sometimes fast and erratic, sometimes slow and dying.
The Long Pause: If fish are following but not striking, extend the pause to 8-10 seconds. The sudden stop can trigger a strike from a following fish.
The Hookset: Patience Under Pressure
When a tuna explodes on your lure, every instinct screams to strike immediately. Resist this urge. The proper hookset sequence is:
- Keep the rod tip low and continue a slow steady retrieve
- Wait until you feel actual weight on the rod as the fish turns away
- Only then execute several powerful, short sweeps to drive the heavy-gauge hooks home
- Do not use a massive overhead strike that could pull the hooks or break the leader
The Fight: Managing Chaos
Once hooked, a yellowfin tuna will typically make a blistering initial run exceeding 200 meters. This is the most dangerous phase for tackle failure.
Initial Run Management
Drag Settings: Start with drag at approximately 30-40% of line breaking strain. For PE10 (100-pound), this means 30-40 pounds of drag at strike. As the fight progresses and line leaves the spool, effective drag increases due to increased spool friction—be prepared to back off drag slightly if the fish continues taking line.
Rod Position: Keep the rod at a 45-degree angle to the water, never pointing directly at the fish. This maintains the rod’s shock-absorbing capacity and prevents direct load on the line.
Body Position: Secure yourself in a fighting belt or harness immediately. Brace your legs and use your entire body, not just your arms.
The Sound: When Tuna Dive
After the initial run, most yellowfin will “sound,” diving vertically toward cooler water. This is the most physically demanding phase of the fight.
Short Stroking Technique:
- Lift the rod only 15-20 degrees
- Reel down rapidly as you drop the rod tip
- Repeat continuously to gain inches per pump
- This prevents the fish from gaining momentum in its dive
The Fulcrum Principle:
Use the rod’s butt section as a lever against your fighting belt. Your body provides the base, the belt is the fulcrum, and the rod becomes a lever to apply upward pressure on the fish’s head.
The Death Circle
As the fish tires and nears the surface, it will swim in wide, powerful circles beneath the boat. Be patient during this phase.
Timing the Pump:
Only gain line when the fish is turning toward the boat. Forcing the issue when the fish is pulling away risks tackle failure. Time your reel turns with the fish’s circular movement.
Final Surge:
Be prepared for a sudden burst of power when the fish sees the boat. This final surge can be as violent as the initial run. Maintain drag and rod position.
Landing and Fish Care
Gaffing Protocol
Landing a 100-pound+ tuna requires coordination and preparation.
Multiple Gaffs: Have at least two heavy gaffs ready, 1.8-2.4 meters in length with large, sharp hooks. One crew member should be designated as primary gaff man.
The Shot: Aim for the head or shoulder region to ensure secure hold and avoid damaging the valuable loin meat. Never gaff in the tail or belly.
Safety: The gaff man must be securely braced and prepared for sudden weight transfer. A large tuna in its death surge can easily pull someone overboard.
Ike Jime: Ultimate Quality
For tuna destined for the table, Japanese Ike Jime technique ensures world-class meat quality by preventing the release of stress hormones and lactic acid that degrades flesh quality.
The Process:
- Stunning: Deliver a hard blow to the soft spot between the eyes to immobilize the fish
- Spiking: Insert a sharp spike into the brain cavity, moving it side to side to destroy neural tissue
- Bleeding: Make small incisions behind the pectoral fins on both sides while the heart still beats, allowing complete blood drainage
- Chilling: Immediately place the fish in a salt-water ice slurry to rapidly reduce core temperature
Catch and Release Best Practices
For anglers practicing conservation:
Single Hook Conversion: Replace treble hooks with single inline hooks (BKK Lone Diablos or Owner singles). This dramatically reduces injury and speeds dehooking.
In-Water Release: Minimize air exposure. Use a “hookout gun” or long-nose pliers to remove the hook while the fish remains in the water alongside the boat.
Resuscitation: Yellowfin are obligate ram ventilators—they must swim forward to breathe. If exhausted, hold the fish by the jaw or tail and move the boat slowly forward at 1-2 knots. Only release when the fish is kicking strongly and attempting to escape.
Premier Seychelles Popping Grounds
Inner Islands (Granitic)
Mahé North Point:
- Deep drop-offs within reach of day trips from the capital
- Best during calm northwest monsoon conditions
- Target size: 20-60kg
- Peak season: October-May
Denis Private Island:
- Located on the edge of the plateau with only 15 minutes to the Drop-Off
- Year-round fishing opportunities due to protected location
- Target size: 40-80kg
- Excellent infrastructure for serious anglers
Outer Islands (Coralline Atolls)
Amirantes Bank:
- Remote, expansive plateau with intense current movement
- Requires mothership or live-aboard operation
- Target size: 50-100kg+
- Peak season: November-April
Alphonse and St. François:
- World-famous for species diversity
- Tuna frequently found on atoll perimeter during tide changes
- Target size: 30-70kg
- Peak season: October-May
Cosmoledo Atoll:
- Rugged, wild, and incredibly remote
- Legendary for both giant trevally and large tuna
- Trophy-class specimens only
- Peak season: October-December and February-April
Providence Atoll:
- Vast atoll with minimal fishing pressure
- Pristine ecosystem with abundant biomass
- Trophy-class specimens
- Peak season: October-April
Regulatory Framework
Licensing Requirements
Private Yachts: Must register with the Seychelles Maritime Safety Authority (SMSA) and meet seaworthiness standards.
Charter Operations: Operate under Hire Craft (HC) permits that include sport fishing rights.
Electronic Monitoring: Larger vessels may require Vessel Monitoring Systems (VMS) and Electronic Reporting Systems (ERS) for conservation management.
Conservation Regulations
Bag Limits: 20 fish per person per day for recreational anglers (includes all species).
Protected Zones: Marine parks like St. Anne are no-take zones where all fishing is prohibited.
Species Protection: While pelagic species like tuna currently have no individual bag limits within the 20-fish total, regulations are subject to change based on stock assessments.
Conclusion: The Path to Mastery
Mastering yellowfin tuna popping in the Seychelles represents the convergence of physical conditioning, technical knowledge, quality equipment, and intuitive understanding of marine ecosystems. Success requires viewing each day not as random chance but as systematic engagement with biological and oceanographic patterns.
The essential elements of excellence include investing in premium Japanese tackle that can withstand the immense forces involved, focusing efforts on the golden hours when light and tide align, synthesizing bird and cetacean behavior to locate active feeding zones, practicing tactical boat positioning to avoid spooking schools, and maintaining ethical commitment whether harvesting or releasing fish.
The Seychelles remains one of the planet’s few remaining pristine environments where 100-kilogram yellowfin can be targeted with surface lures in crystal-clear water. By adhering to these technical guidelines and respecting the oceanographic and biological forces at play, anglers can experience the most explosive and rewarding sport fishing the Indian Ocean has to offer. The sound of a popper being crushed in the surface and the scream of a reel as line evaporates in seconds represents fishing at its most visceral and unforgettable.